
 Leavely
Employees
How Owners and Admins add, edit, hide and remove the employees of a company.
Add the people of your company, set their role and employment details, hide them from the Wall Chart, and remove them.
Where to find it
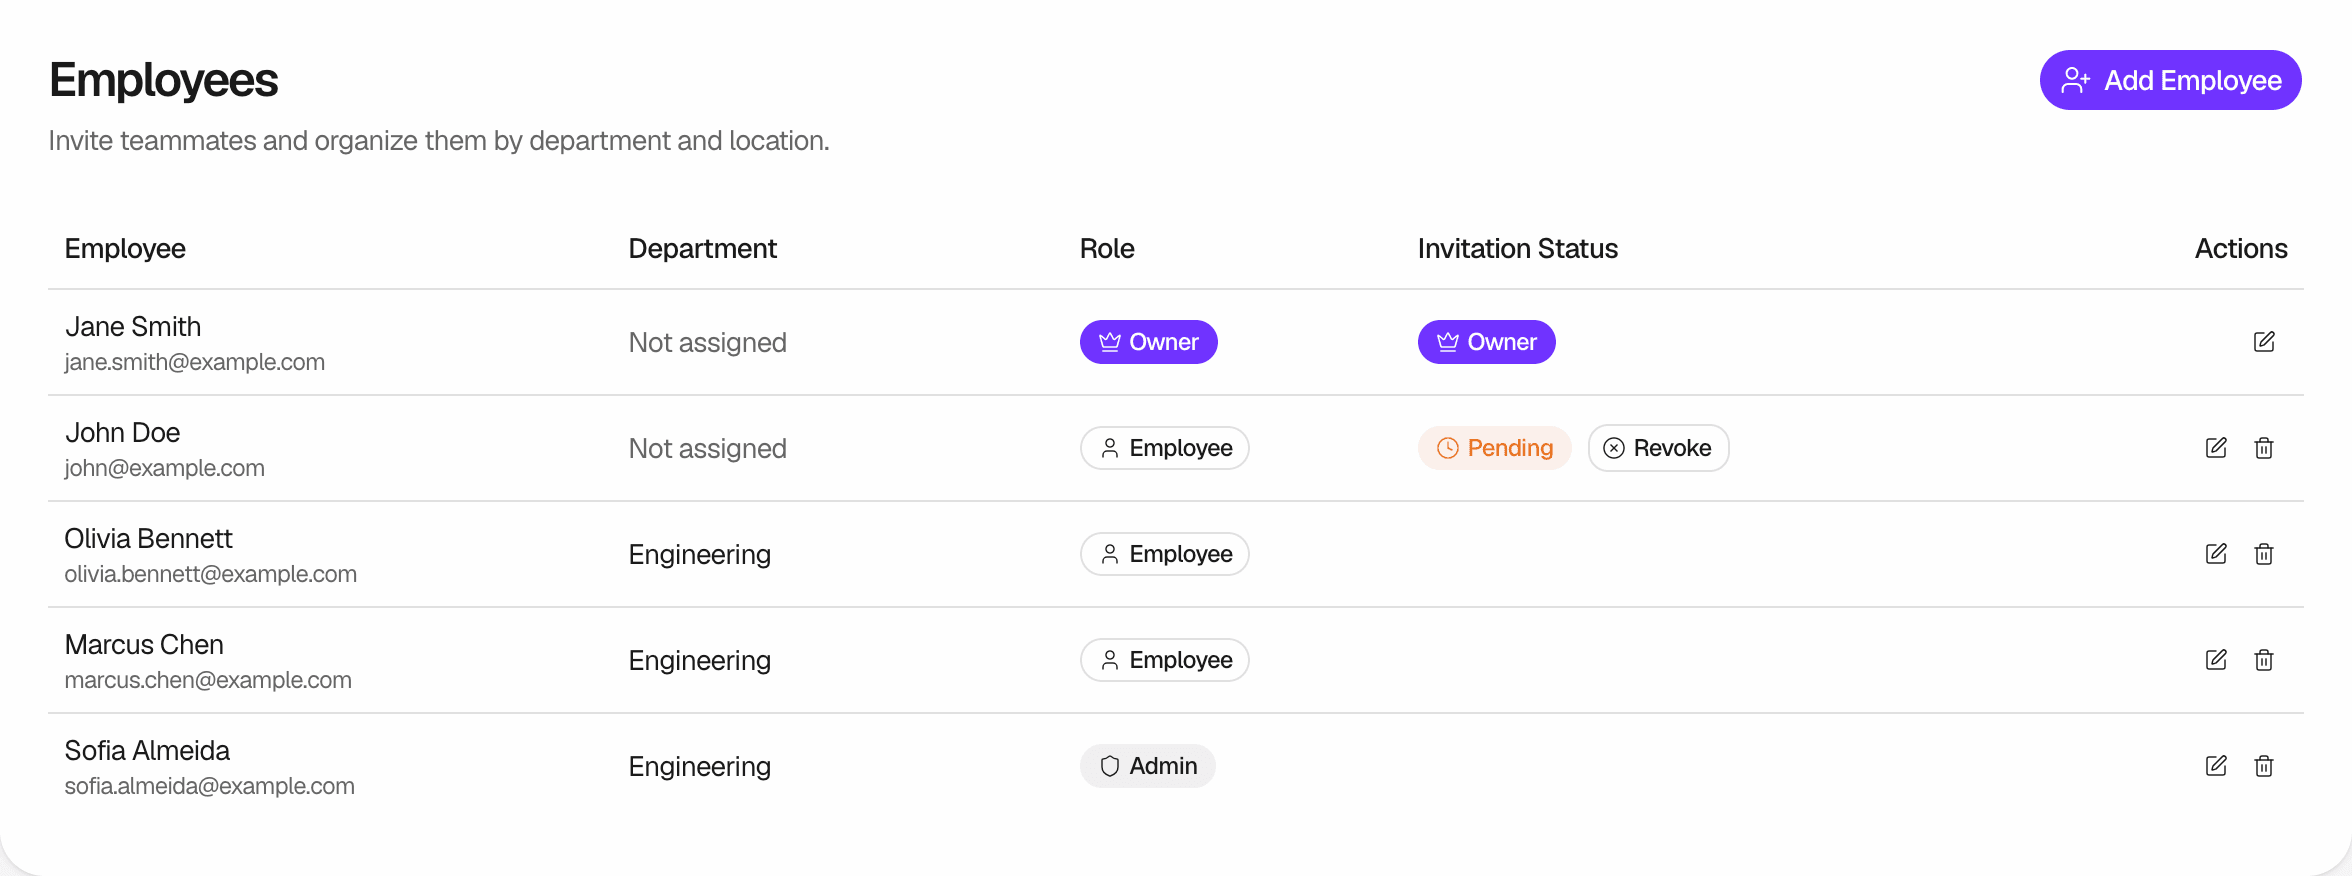
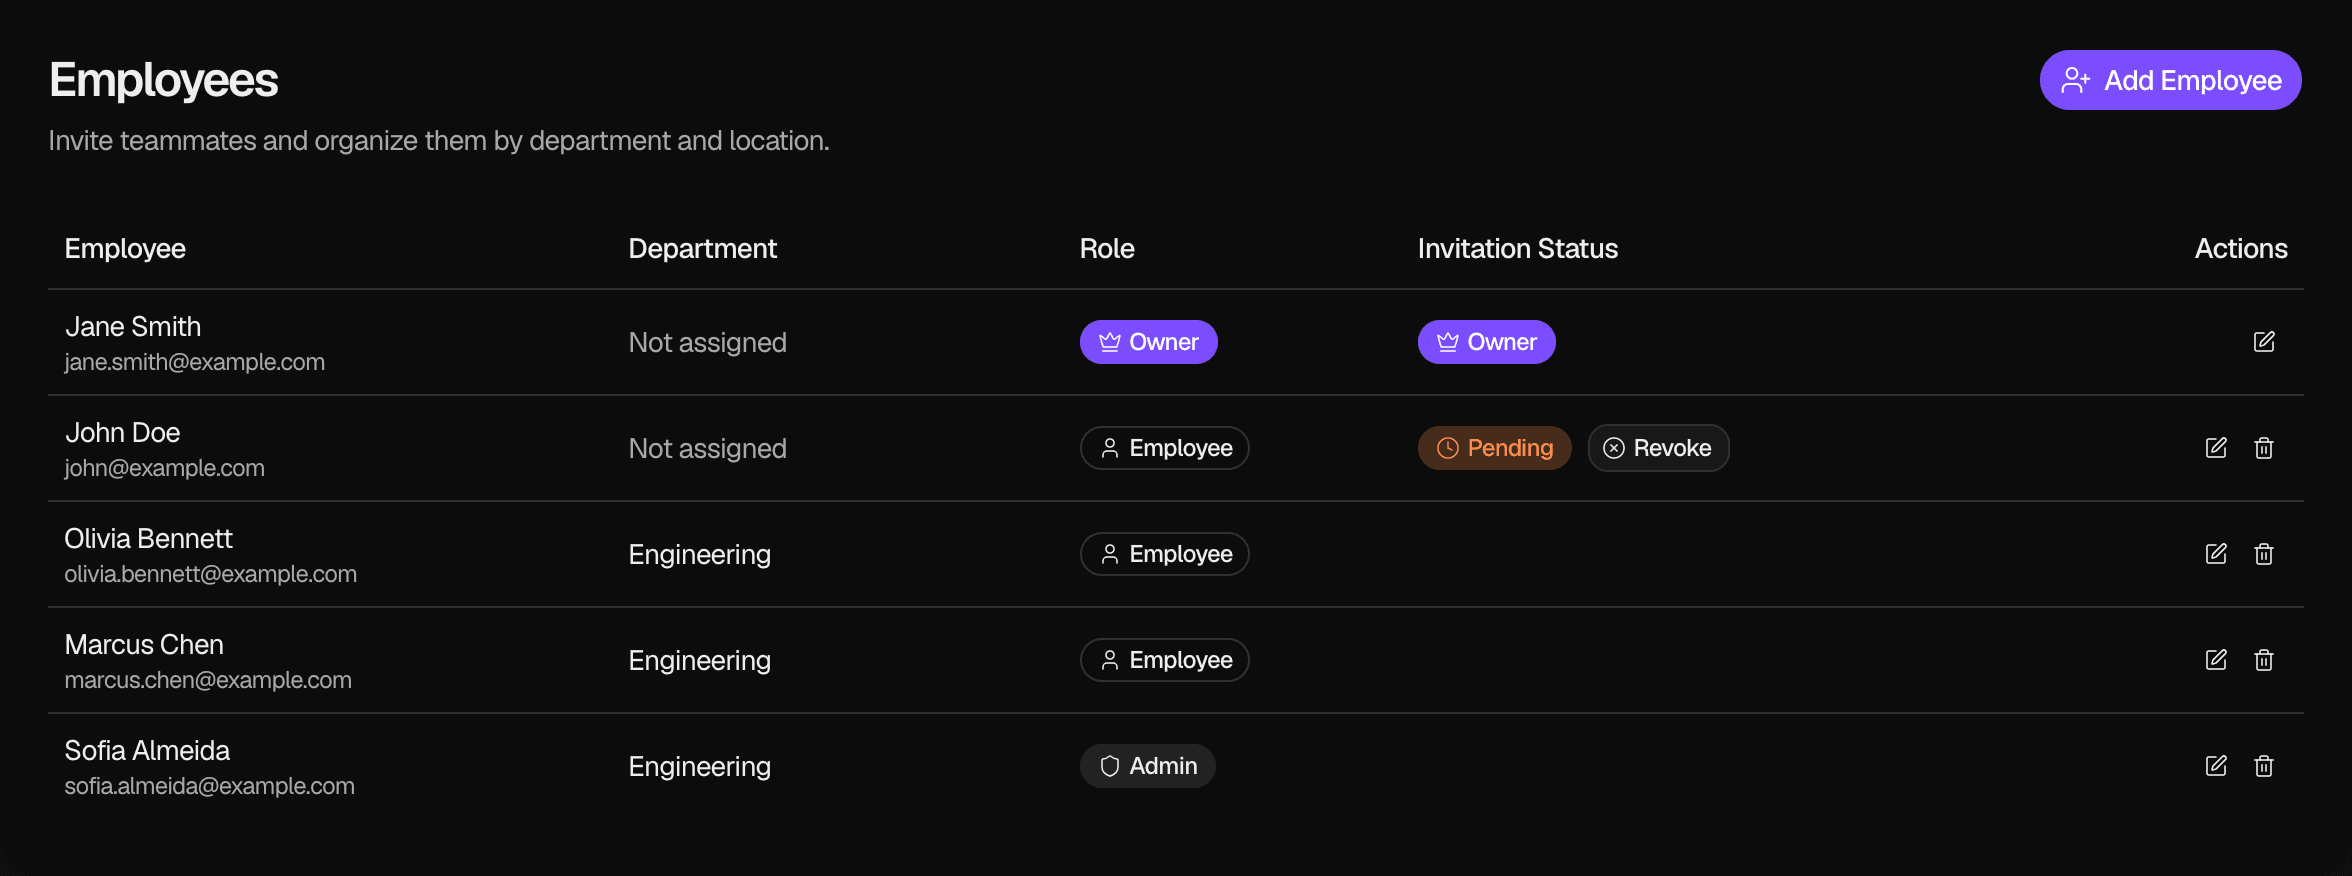
In Leavely, go to Settings > Employees. The list shows each employee with their Department, their role and the status of their invitation. See Invitations.
Employees and user accounts
An employee is the record of a person in one company: their role, their Department, their dates and their Holiday Location. Their name, their email address and their password belong to their user account. See Working across companies.
When you add an employee, Leavely creates the employee at once and sends an invitation to their email address. The person joins the company when they accept the invitation. Until then, the employee exists, but the person cannot use the company.
| Before the person joins | Yes or no |
|---|---|
| The employee uses a Seat | Yes |
| The employee has Leave Balances | Yes |
| You can assign an Allowance Policy | Yes |
| The employee has a row on the Wall Chart | No |
| An Owner, Admin or Department Manager can book leave for them | No |
| You can make them the Department Manager of a Department | No |
Add an employee
You must verify your own email address first. Until then, Add Employee is not available and shows "Verify your email to invite teammates." See Password and email verification.
Open the form
Select Add Employee. The form has four tabs: Basic Info, Employment, Department and Visibility.
Enter the basic information
In Basic Info, type the First Name, the Last Name and the Email of the person. Leavely sends the invitation to this email address. Then select a Role. The Owner can select Admin or Employee. An Admin can select only Employee.
Enter the employment details
In Employment, select the Start Date and a Country. Both are required. You can also enter an Employee Number, an End Date, a Region and a Holiday Location. See Employment details.
Select a Department
In Department, you can select the Department of the employee. An employee can be in one Department. The Department sets who can approve the leave of the employee. See Departments and Roles and approval authority.
Add the employee
Select Add Employee & Send Invitation. Leavely shows "Employee added", and the employee shows in the list with a Pending invitation.
Leavely creates the Leave Balances of the new employee at once, with the default Allowance Policy of each Allowance Type. To give them another policy, see Assign an Allowance Policy to an employee.
Employment details
| Field | What it does |
|---|---|
| Start Date | Sets the entitlement of the employee in a Leave Calendar in which they start, and the date from which their Tenure Tiers count. |
| End Date | Sets the entitlement of the employee in a Leave Calendar in which they leave. Leave it empty for a current employee. It cannot be before the Start Date. |
| Holiday Location | Sets the public holidays of the employee. Without a Holiday Location, no public holidays apply to them. See Holidays. |
| Country, Region | The country and the region where the employee lives. They do not set public holidays. The Holiday Location does. |
| Employee Number | Your own reference for the employee. |
The Holiday Location list shows the locations that an Owner or Admin added in Settings > Holidays. When there are none, the form shows "No holiday locations available. Import holidays from Settings → Holidays." See Holidays. A change of Holiday Location applies to new Leave Requests. Leave Requests that exist keep their number of days.
To learn how the dates change the number of days, see Allowances and entitlement.
The Start Date and the End Date do not change what the employee can do. An employee with an End Date in the past can still sign in, and keeps their row on the Wall Chart. To take away their access, remove the employee.
Edit an employee
Open the employee
In the row of the employee, select the edit button. The Edit (name) dialog opens with the tabs Basic Info, Employment, Department, Visibility and Policies.
Change the details
Change the fields in the tabs. In Policies, a change saves immediately. See Assign an Allowance Policy to an employee.
Save
Select Update Employee. Leavely shows "Employee updated".
The First Name, the Last Name and the Email show, but you cannot change them. They belong to the user account of the employee. Only the employee can change their name, in My Profile. Nobody can change the email address.
When you change the Start Date or the End Date, Leavely calculates the entitlement of the employee again, in each Leave Calendar that has not ended. Leavely blocks the change when the new entitlement would be less than the days the employee has used or requested. See Allowances and entitlement.
Change the role of an employee
Only the Owner can change a role. In the Edit (name) dialog, in Basic Info, select Admin or Employee in Role, then select Update Employee. For an Admin, the Role list is not available. To learn what each role can do, see Roles and approval authority.
Nobody can change the role of the Owner, and nobody can give the Owner role to another member. See Roles and approval authority.
Hide an employee from the Wall Chart
In the Edit (name) dialog, open Visibility and select Hide from Wall Chart. Then select Update Employee. You can also select it when you add the employee.
A hidden employee has no row on the Wall Chart, and nobody sees their leave there, the employee included. This is useful for contractors, temporary staff and employees on long leave. See Wall Chart.
Hiding changes only the Wall Chart. The employee can still sign in, request leave and see it in My Year. Their requests still go to Approvals. Because you book leave for other people from their row on the Wall Chart, you cannot book leave for a hidden employee.
Remove an employee
Select delete
In the row of the employee, select the delete button. The dialog Remove (name)? opens.
Confirm
Select Remove Employee. Leavely shows "(name) removed", and the employee leaves the list.
You cannot undo this. When you remove an employee:
- The person can no longer open the company.
- Leavely deletes their Leave Requests, their Leave Balances and their Allowance Policy assignments in this company. Their leave no longer shows on the Wall Chart or in Reports.
- A pending invitation of the employee changes to revoked, and its link stops working.
- Their Seat becomes free.
- When the person is not a member of another company, Leavely also deletes their user account. They can no longer sign in to Leavely.
You can remove an employee before they join. You cannot remove the Owner, and you cannot remove yourself.
Seats
Each employee uses one Seat, from the moment you add them. The Owner uses a Seat too. An employee who has not joined, and a hidden employee, also use a Seat.
A Seat becomes free only when the employee leaves the company:
- You remove the employee.
- The person declines the invitation. See Invitations.
- The person leaves the company. See Leave a company.
A revoked or expired invitation does not free the Seat. To free it, remove the employee.
When all Seats of your plan are in use, Add Employee opens Grow Your Team instead of the form. The Owner can select View plans to change the plan. An Admin sees "Your account owner can unlock this for your team." You can still edit, hide and remove employees, and resend invitations. See Plans and seats.
Rules and limits
Owner can
- Add Admins and Employees
- Change the role of a member between Admin and Employee
- Edit and remove Admins and Employees
- Edit their own details, except their role
Admin can
- Add Employees
- Edit and remove other Admins and Employees
- Edit their own details
Admin cannot
- Add an Admin, or change the role of a member
- Edit or remove the Owner
Nobody can remove the Owner or remove themselves.
What happens when
Leavely shows "This user is already a member of this company"
The email address belongs to an employee of the company, who may not have joined yet. You cannot add the same person twice. To send a new invitation, see Invitations.
Leavely shows "Couldn't update employee. Please try again."
Leavely could not save the change. If you changed the Start Date or the End Date, the new entitlement may be less than the days the employee has used or requested. Cancel or resolve the pending Leave Requests first, or choose other dates.
FAQ
The name and the email address belong to the user account of the person, which can be in more than one company. The employee changes their name in My Profile. Nobody can change the email address.
You add the employee as usual. Leavely uses the existing account, so the employee keeps the name of that account, not the name that you typed. The person signs in and accepts the invitation. See Invitations.
Remove the employee. An End Date changes their entitlement, but it does not take away their access.
In the Edit (name) dialog, in Policies. See Assign an Allowance Policy to an employee.
Related pages
Last reviewed on